
LED Display Module Repair
Preparation Tools:
soldering station, hot air gun, tweezers, solder wire, solder paste
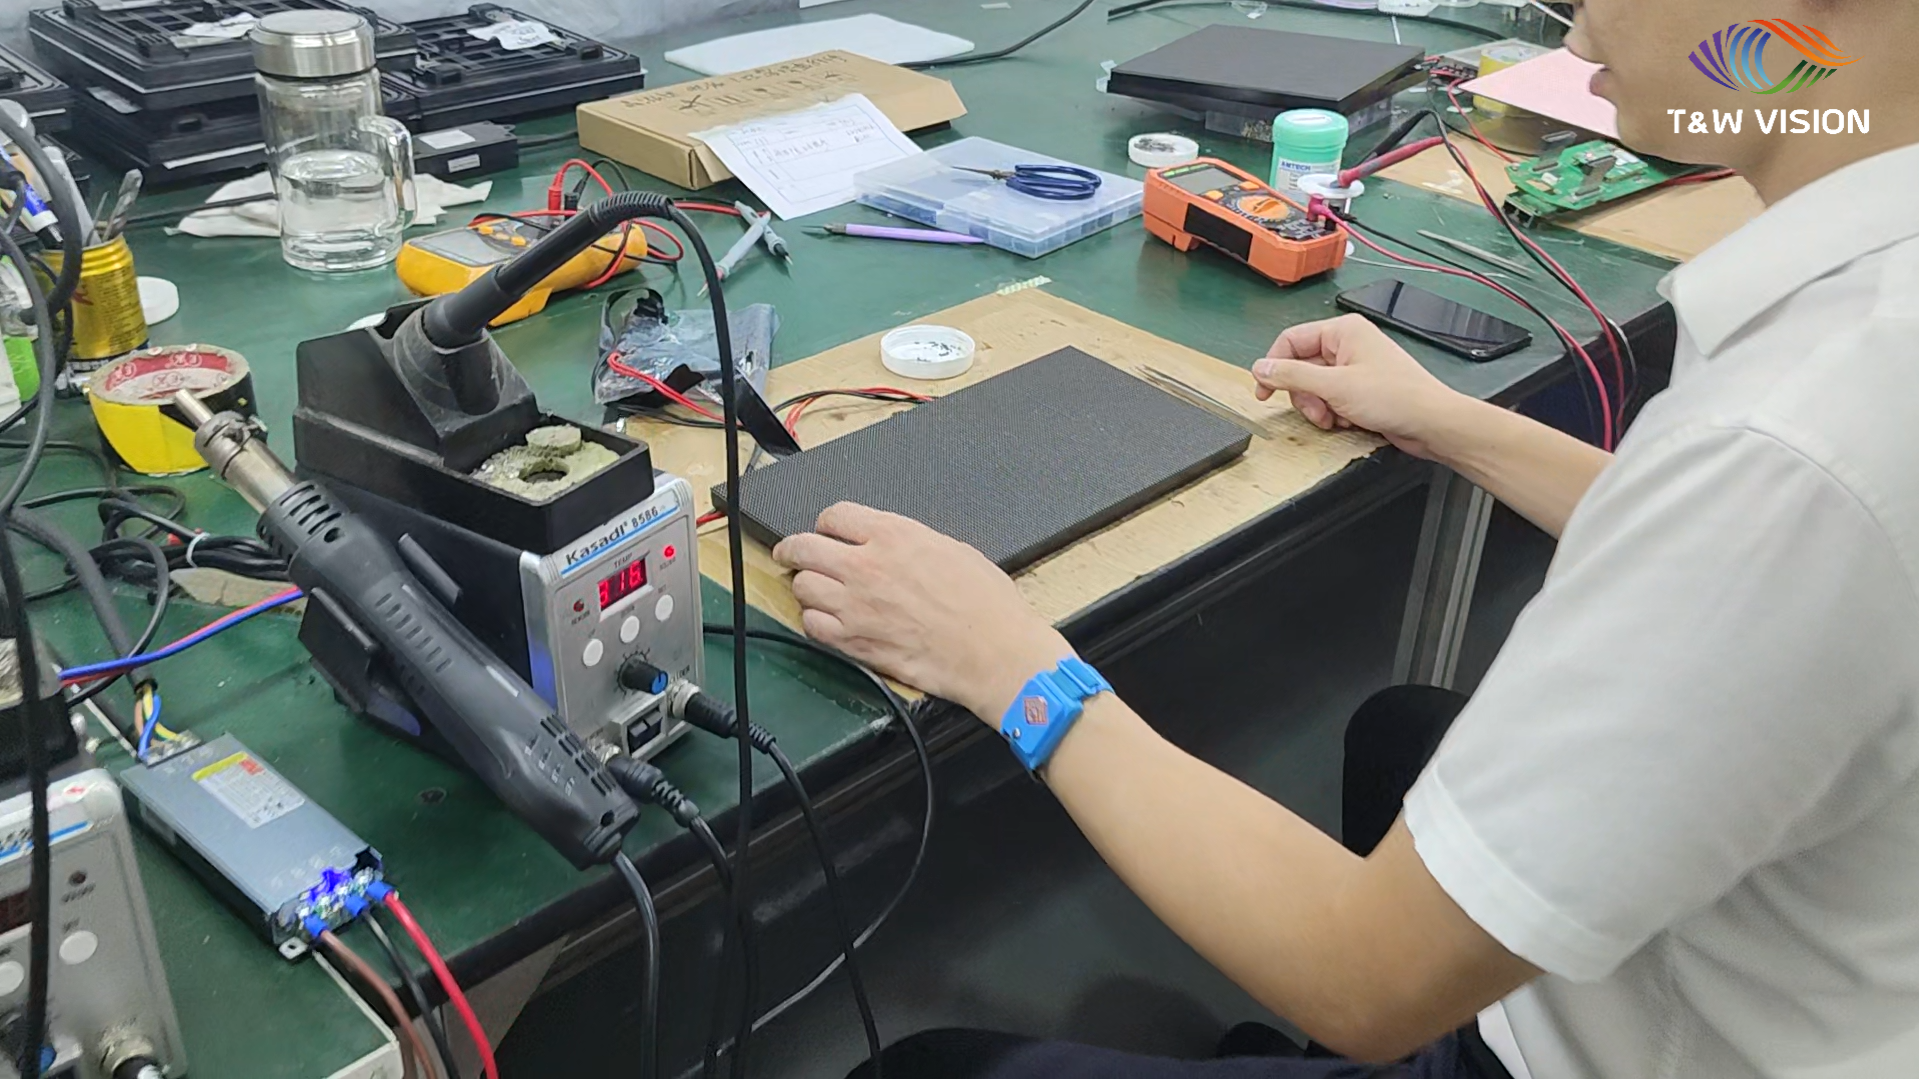
Step 1: Adjust the Temperature of the Hot Air Gun
Set the temperature of the soldering station to approximately 300°C. After the hot air gun reaches the set temperature, use the solder wire for a test. If the hot air gun can melt the solder wire within 3-5 seconds, the temperature is suitable for repair.
Step 2: Remove the LED Nodes
Aim the hot air gun at the LED nodes that need repair. After about 12 seconds, when the LED node can be moved, use tweezers to pick it out.
Step 3: Install the New LED Nodes
Dip the pins of the new LED nodes into the solder paste.
Direction for placing the LED nodes: The notched corner should be at the upper right.
Hold the LED nodes with tweezers, use the hot air gun to melt the solder on the pins of the LED nodes, and then place the LED nodes on the module.
Step 4: Light-up Test
Check if the white, red, green, and blue displays are normal. The repair is completed after the module cools down. (Note: It is normal for the LED bead heated by the hot air gun to appear slightly blue; it will return to normal after cooling.)
